Tools: Mini Reamer
Last updated: May 10, 2014, 12:50 p.m.
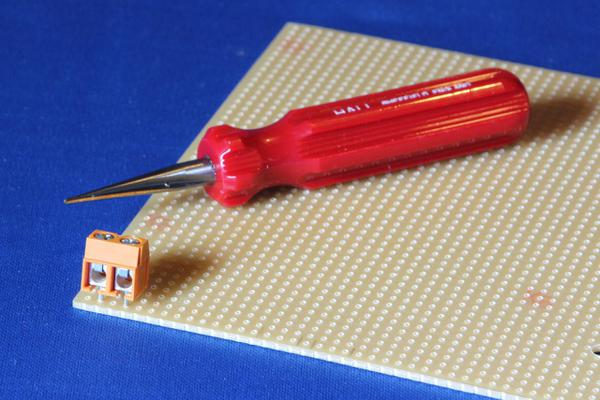
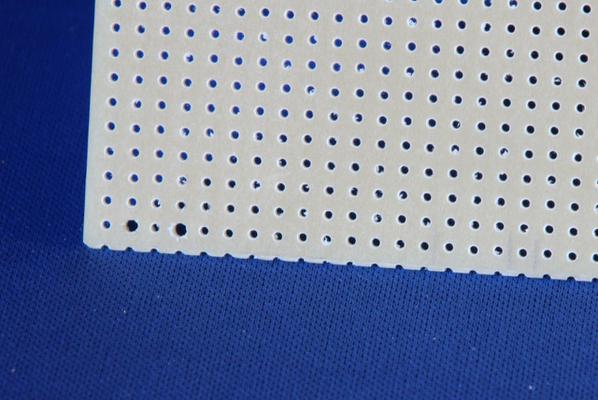
Stripboard construction and home-made PCBs are going out of fashion these days, but for the odd power supply or prototype they're still often worth doing. One of the most annoying problems I regularly face when building things (especially power supplies) on stripboard is components with leads too big to fit. Most cheap stripboard tends to use punched holes between 0.8 and 1.0mm in diameter (about 40 thou). With power-handling components particularly leads can be 1.0mm or even bigger, and they just won't push through the board. Opening out holes with a craft knife can be tricky, and having a range of tiny drill bits can be costly (especially as they're really easy to snap). The best solution is a mini reamer.
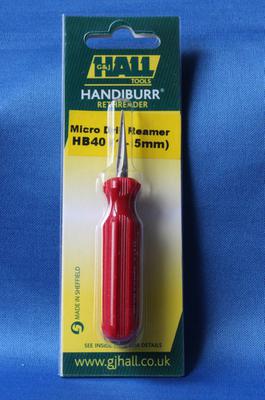
I've been using this particular model for as long as I've been working on stripboard projects. Dad had one in his tool kit that I used to borrow, since leaving home I've been stuck without it and when Farnell offered me one for review I jumped at the chance. This particular model is still made in Sheffield in the UK and is of superb quality. It's quite a pricey tool for occasional use at £27.24, but as the 6 digit Farnell part number indicates, this thing will last the test of time.
The target application seems to be cleaning threads for re-threading, but I've always used it for opening holes in PCB materials and cleaning burrs on plastic parts.
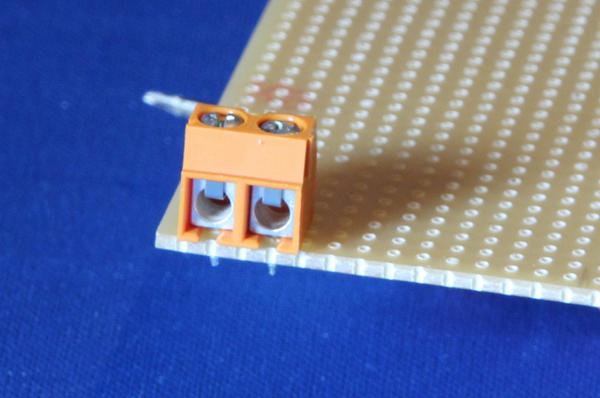
To get best results on stripboard I recommend cutting a little bit on the component side so that the component leg just starts to fit, but since it is tapered hole won't go all the way through. I then switch to the copper side and do the same, making sure there are no burrs left or copper track sticking out. Once you've cut the holes, the part should just drop in and sit nicely against the board like all the other parts with less awkward pin sizes.
I've used it recently on a power supply board where it was needed for screw terminals, power resistors, power inductors, a relay and some multiwatt package ICs. It's one of those jobs that doesn't come up often but if you have one of these tools it will make a perfect job of it every time.
Comments
Posting comments is not currently possible. If you want to discuss this article you can reach me on twitter or via email.


