MacAllister 36V Lithium System Clearance
Last updated: April 9, 2015, 7:38 p.m.
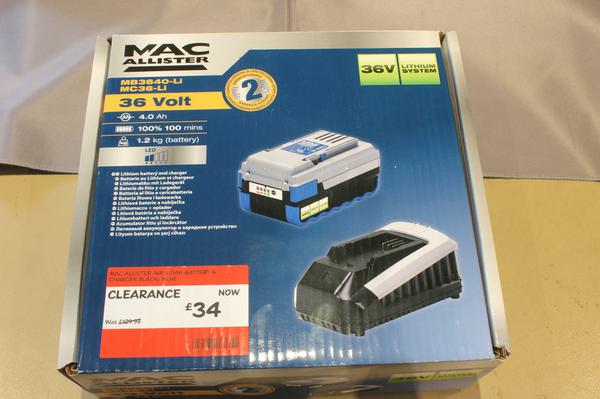
About 2 years ago British DIY store B&Q started stocking a 36V lithium battery based garden tool set. I picked up the mower and the strimmer which was all I needed at the time. You could buy individual tools and batteries separately, the battery pack is an impressive 36V 2.6 or 4Ah lithium pack. Initially the 2.6Ah pack was around £100 and the 4Ah was around £130. I've always been thinking it would be an interesting pack to use for other things but at that price hadn't got around to it, however about a month ago the line was discontinued and piles of the batteries can be found in B&Q stores all over the country for around £30.
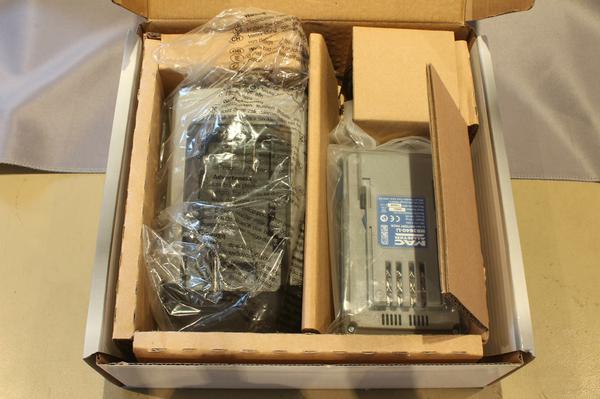
I've got a small collection of the chargers to use in my own projects, but the first step was to tear it down and see what's in the pack and the charger. The box on the shelf includes the pack of the specified capacity (check the label closely, the pricing for the discounted ones doesn't take into account capacity) and a charger that can cope with either of the batteries.
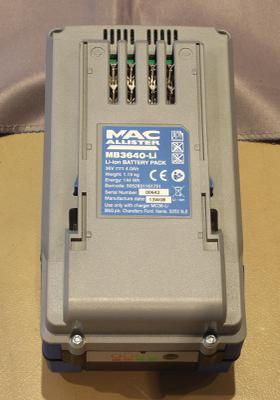
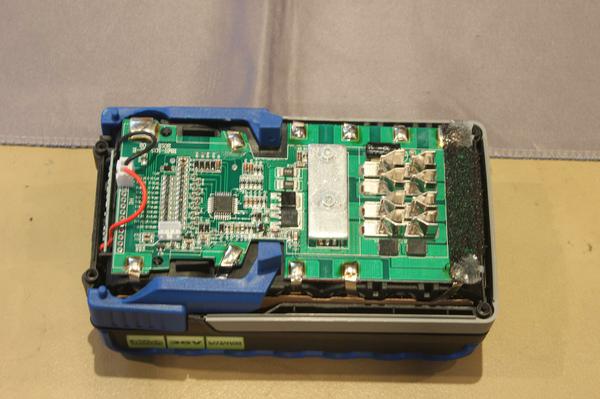
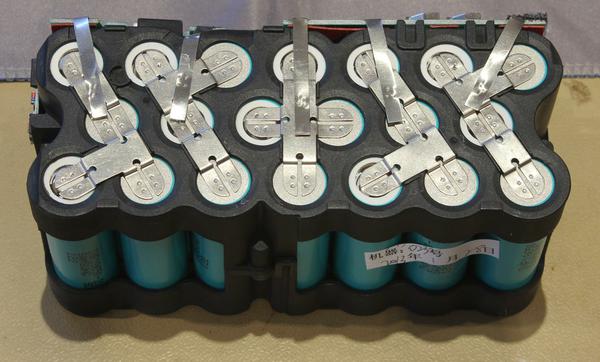
The battery pack is ~150Wh Li-ion pack with all the necessary features for a CE approved battery. That means it's got to have over/under charge protection and thermal monitoring. Taking the pack apart needs a small Torx screwdriver but is fairly easy. Inside the rating label is a PCB the size of the pack with a detailed charge management architecture. You can see in the picture the 12 contacts which tap off between the cells for charge balancing.
From the side view you can see groups of 4 cells are connected. If you match this up with the other side you find the arrangement is 10 pairs of 2 cells. So the nominal voltage of 36V is going to vary between 41V and 30V depending on the charge state of the pack.
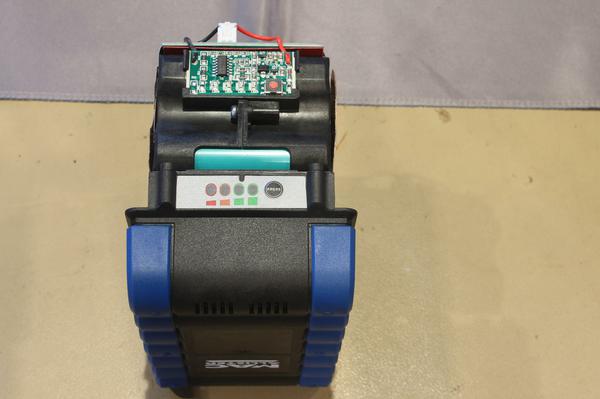
On the end of the pack is a charge status indicator with 4 LEDs. On inspection the driver circuit for these LEDs is a quad comparator chip with 4 fixed voltage inputs which are compared to the current battery voltage to light the LEDs.
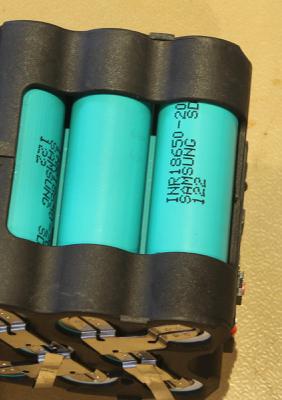
I was impressed to find the cells appear to be genuine branded Samsung cells. From 2 years of using the batteries for their intended purpose, powering my mower, I can say that the packs certainly work well and hold their charge.
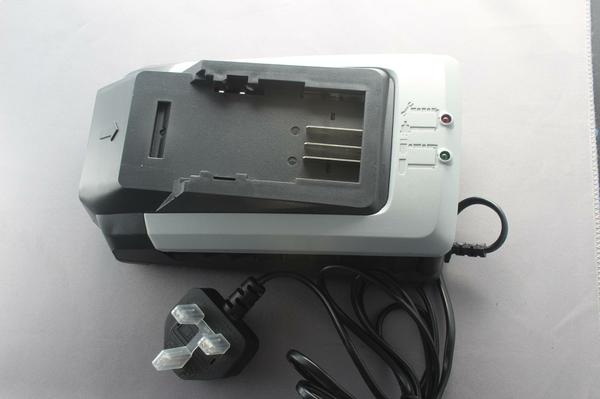
The battery charger is a simple direct to mains charger. It can charge the 144Wh pack in about 1hour 40mins. The smaller pack charges in about an hour.
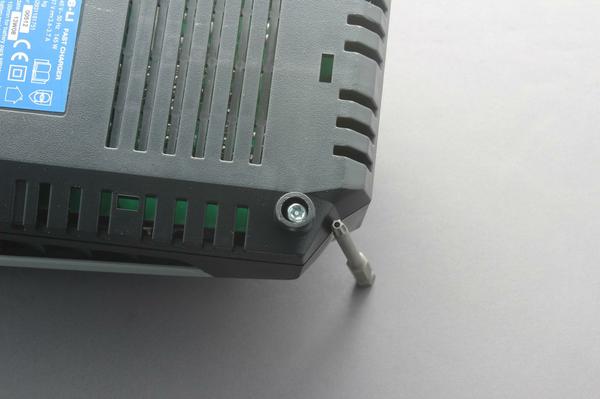
To disassemble the battery pack you need some long-series security Torx bits. The screws are T20 sized and are at the bottom of a hole so normal 1/4" bits can't reach them. Be warned that there is live wiring inside this box, which is probably why they've used security bits. Only poke around if you know what you're doing!
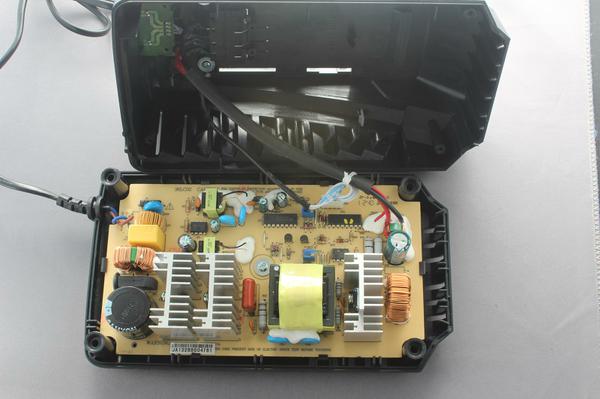
The charger board is standard 1.6mm board, but it's only 1 sided. It seems to be a fairly straight forward switch mode power supply, most of the intelligence is in the battery pack. The board is secured with just a single screw in the middle.
The battery has 4 contacts, from the battery PCB these are:
- +Volts
- Thermistor
- -Volts (charger)
- -Volts (load)
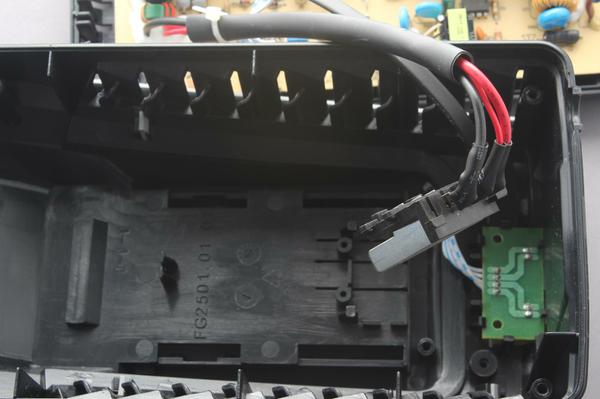
This layout implies they're using low-side switching for the over/under voltage protection. It means that the contacts on the charger and the devices are different. On the charger the battery contact block is removable with two screws and has positions for all 4 contacts, but only 3 are populated.
Comments
Posting comments is not currently possible. If you want to discuss this article you can reach me on twitter or via email.
